How to Zero Your Rifle Scope: A Step-by-Step Guide
Imagine shooting at a target, convinced that you have aimed perfectly, yet missing the mark completely. More often than not, it's not your aiming skills that are at fault but the settings of your riflescope. Like a musician needing to tune their instrument for the perfect symphony, a shooter needs to zero their riflescope for flawless accuracy. This guide will walk you through the meticulous, yet rewarding process of zeroing your riflescope, so you can consistently achieve bullseye shots.
Zeroing your riflescope may sound technical and complicated, but think of it as setting up a new device for the first time. It might take some time and patience, but once it's done, your device—and your riflescope—will work optimally, tailored specifically to your needs.
Isn't it thrilling to know that you can make your equipment work perfectly for you? Well, let's get started. We have a bullseye waiting to be hit.
Understanding the Importance of Zeroing Your Riflescope
Zeroing your riflescope involves aligning your point of aim with your point of impact at a specific distance. To bring it home, imagine driving a car without a calibrated GPS; you'd be going round in circles, right? This sentiment is echoed by ballistics expert Dr. John Watson, who emphasized, "Without a zeroed riflescope, you're essentially shooting blind. It is the bedrock of all precise shooting."
Your bullet's point of impact is influenced by a myriad of factors—gravity, wind, and even air temperature. When you zero your riflescope, you're ensuring that your aim isn't just a hopeful guesstimate; it's a precise point where your bullet will land.
A zeroed riflescope gives you the confidence of knowing your shots will land where you want them to, thus transforming your shooting experience. And let's be honest, who doesn't like being accurate and consistent in what they do?
Gathering the Necessary Tools and Equipment
As with any task, having the right tools at your disposal is paramount. It's like preparing for a gourmet meal; you need all the ingredients and utensils in place to whip up a perfect dish. So, what do you need to zero your riflescope?
- Your rifle and riflescope: This is obvious, right? Like the flour to your cake, they are the base of your shooting.
- Ammunition: Same as your rifle, ensure you're using the type of ammunition you'll normally shoot with.
- A stable gun rest or shooting bag: You need stability, like a solid countertop while kneading dough.
- A target: Ideally, one specifically designed for zeroing, marked with grids for easier adjustments.
- A tool for adjusting your riflescope: This could be a small coin or a screwdriver, depending on your scope.
And let's not forget, always keep a rifle cleaning kit at hand. A clean barrel can make all the difference in your shot's accuracy.
Choosing the Right Location for Zeroing
Selecting the right location for zeroing your riflescope is akin to choosing a spot for camping. You need a safe, controlled environment and preferably, a shooting range that allows you to shoot at different distances. Veteran hunter and author, Peter Capstick once remarked, "The best place to zero your rifle is a range that offers you the opportunity to shoot at various distances under different conditions."
Ensure the range is a place where you can comfortably practice. And remember, just like how the weather can influence your camping experience, the perfect conditions for zeroing are calm, clear, and windless.
Consider the geographical nuances of your location. For instance, zeroing in a high-altitude area could result in different ballistics than at sea level due to the difference in air density.
Ensuring Safety Measures
No guide to firearms can be complete without emphasizing safety. Here are the four cardinal rules of gun safety, as advocated by firearms safety expert, Jeff Cooper:
- Treat every firearm as if it's loaded.
- Never point the firearm at anything you're not willing to destroy.
- Always be sure of your target and what's beyond it.
- Keep your finger off the trigger until your sights are on the target.
Remember Cooper's wise words, "Safety is something that happens between your ears, not something you hold in your hands." So, equip yourself with safety glasses and ear protection, and always ensure your firearm and riflescope are in proper working order before starting.
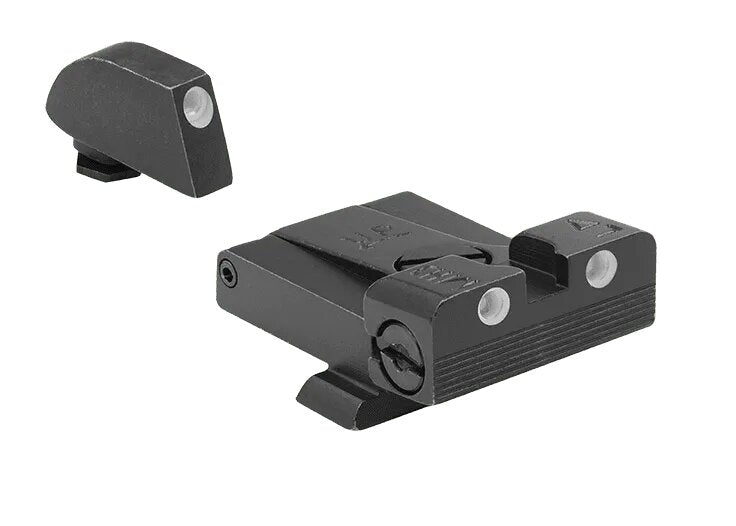
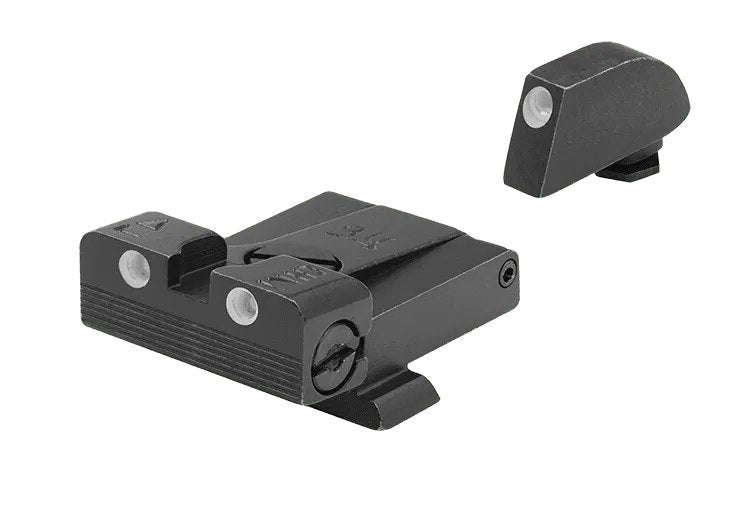
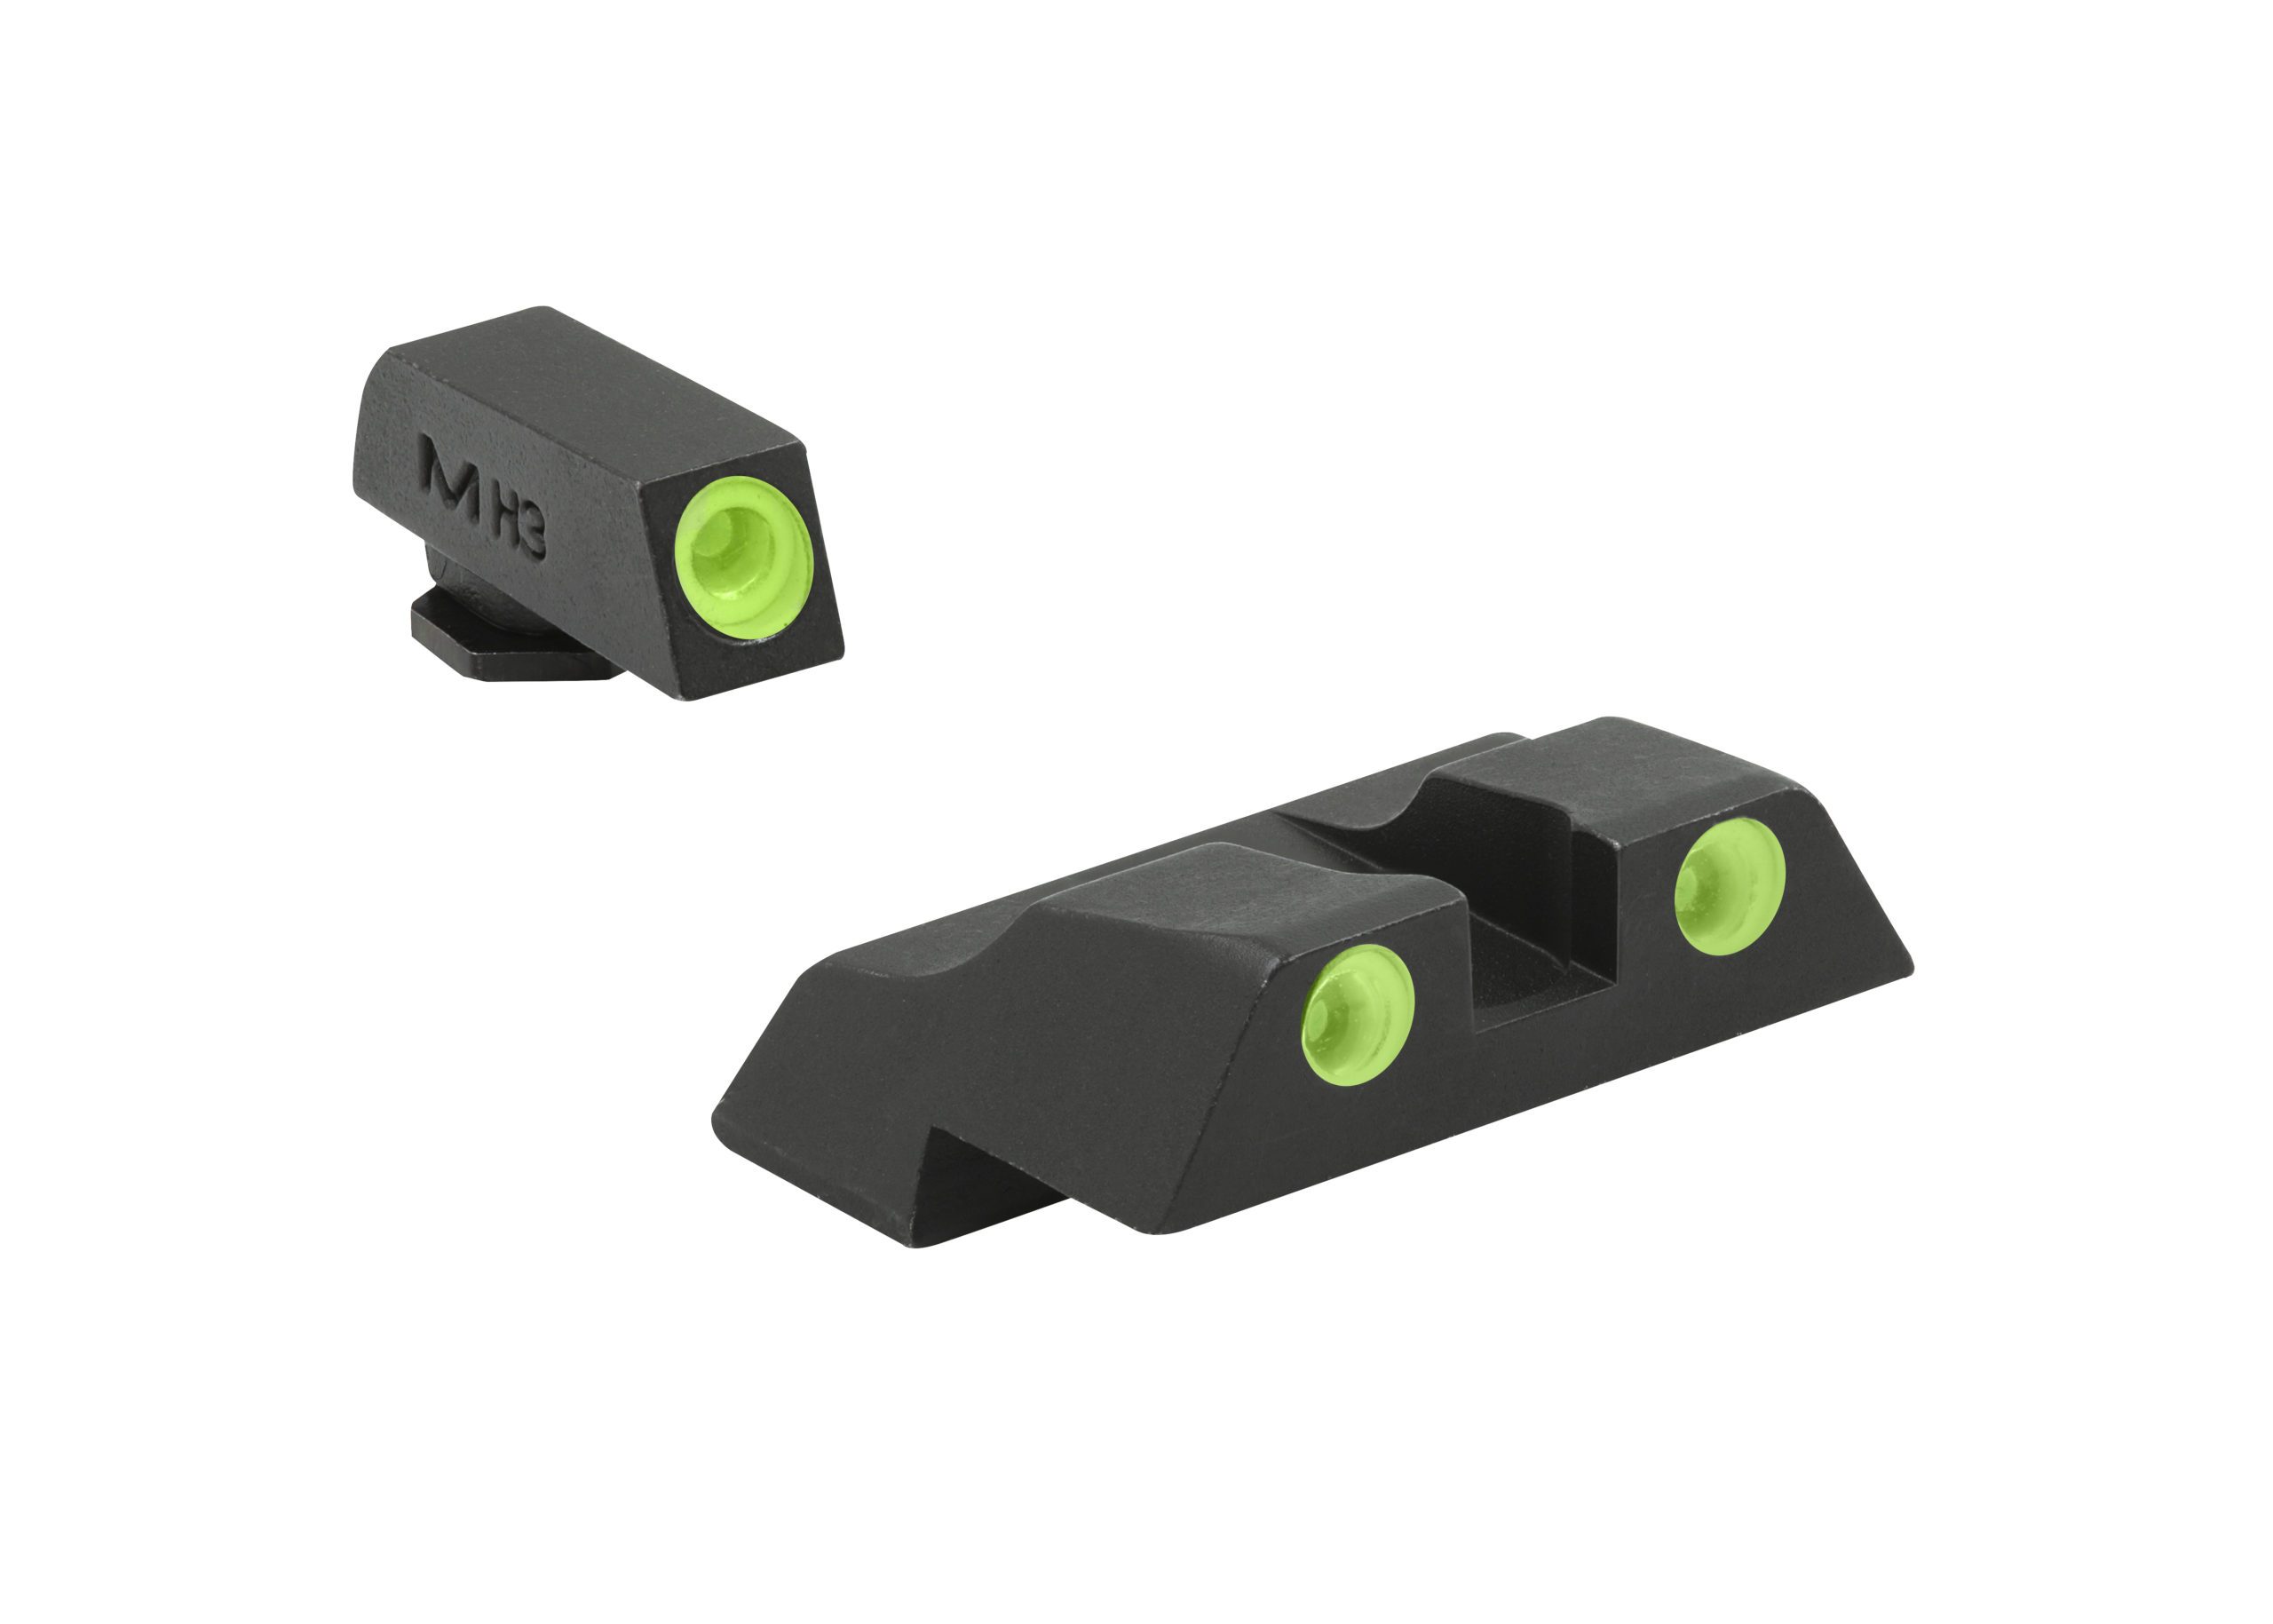
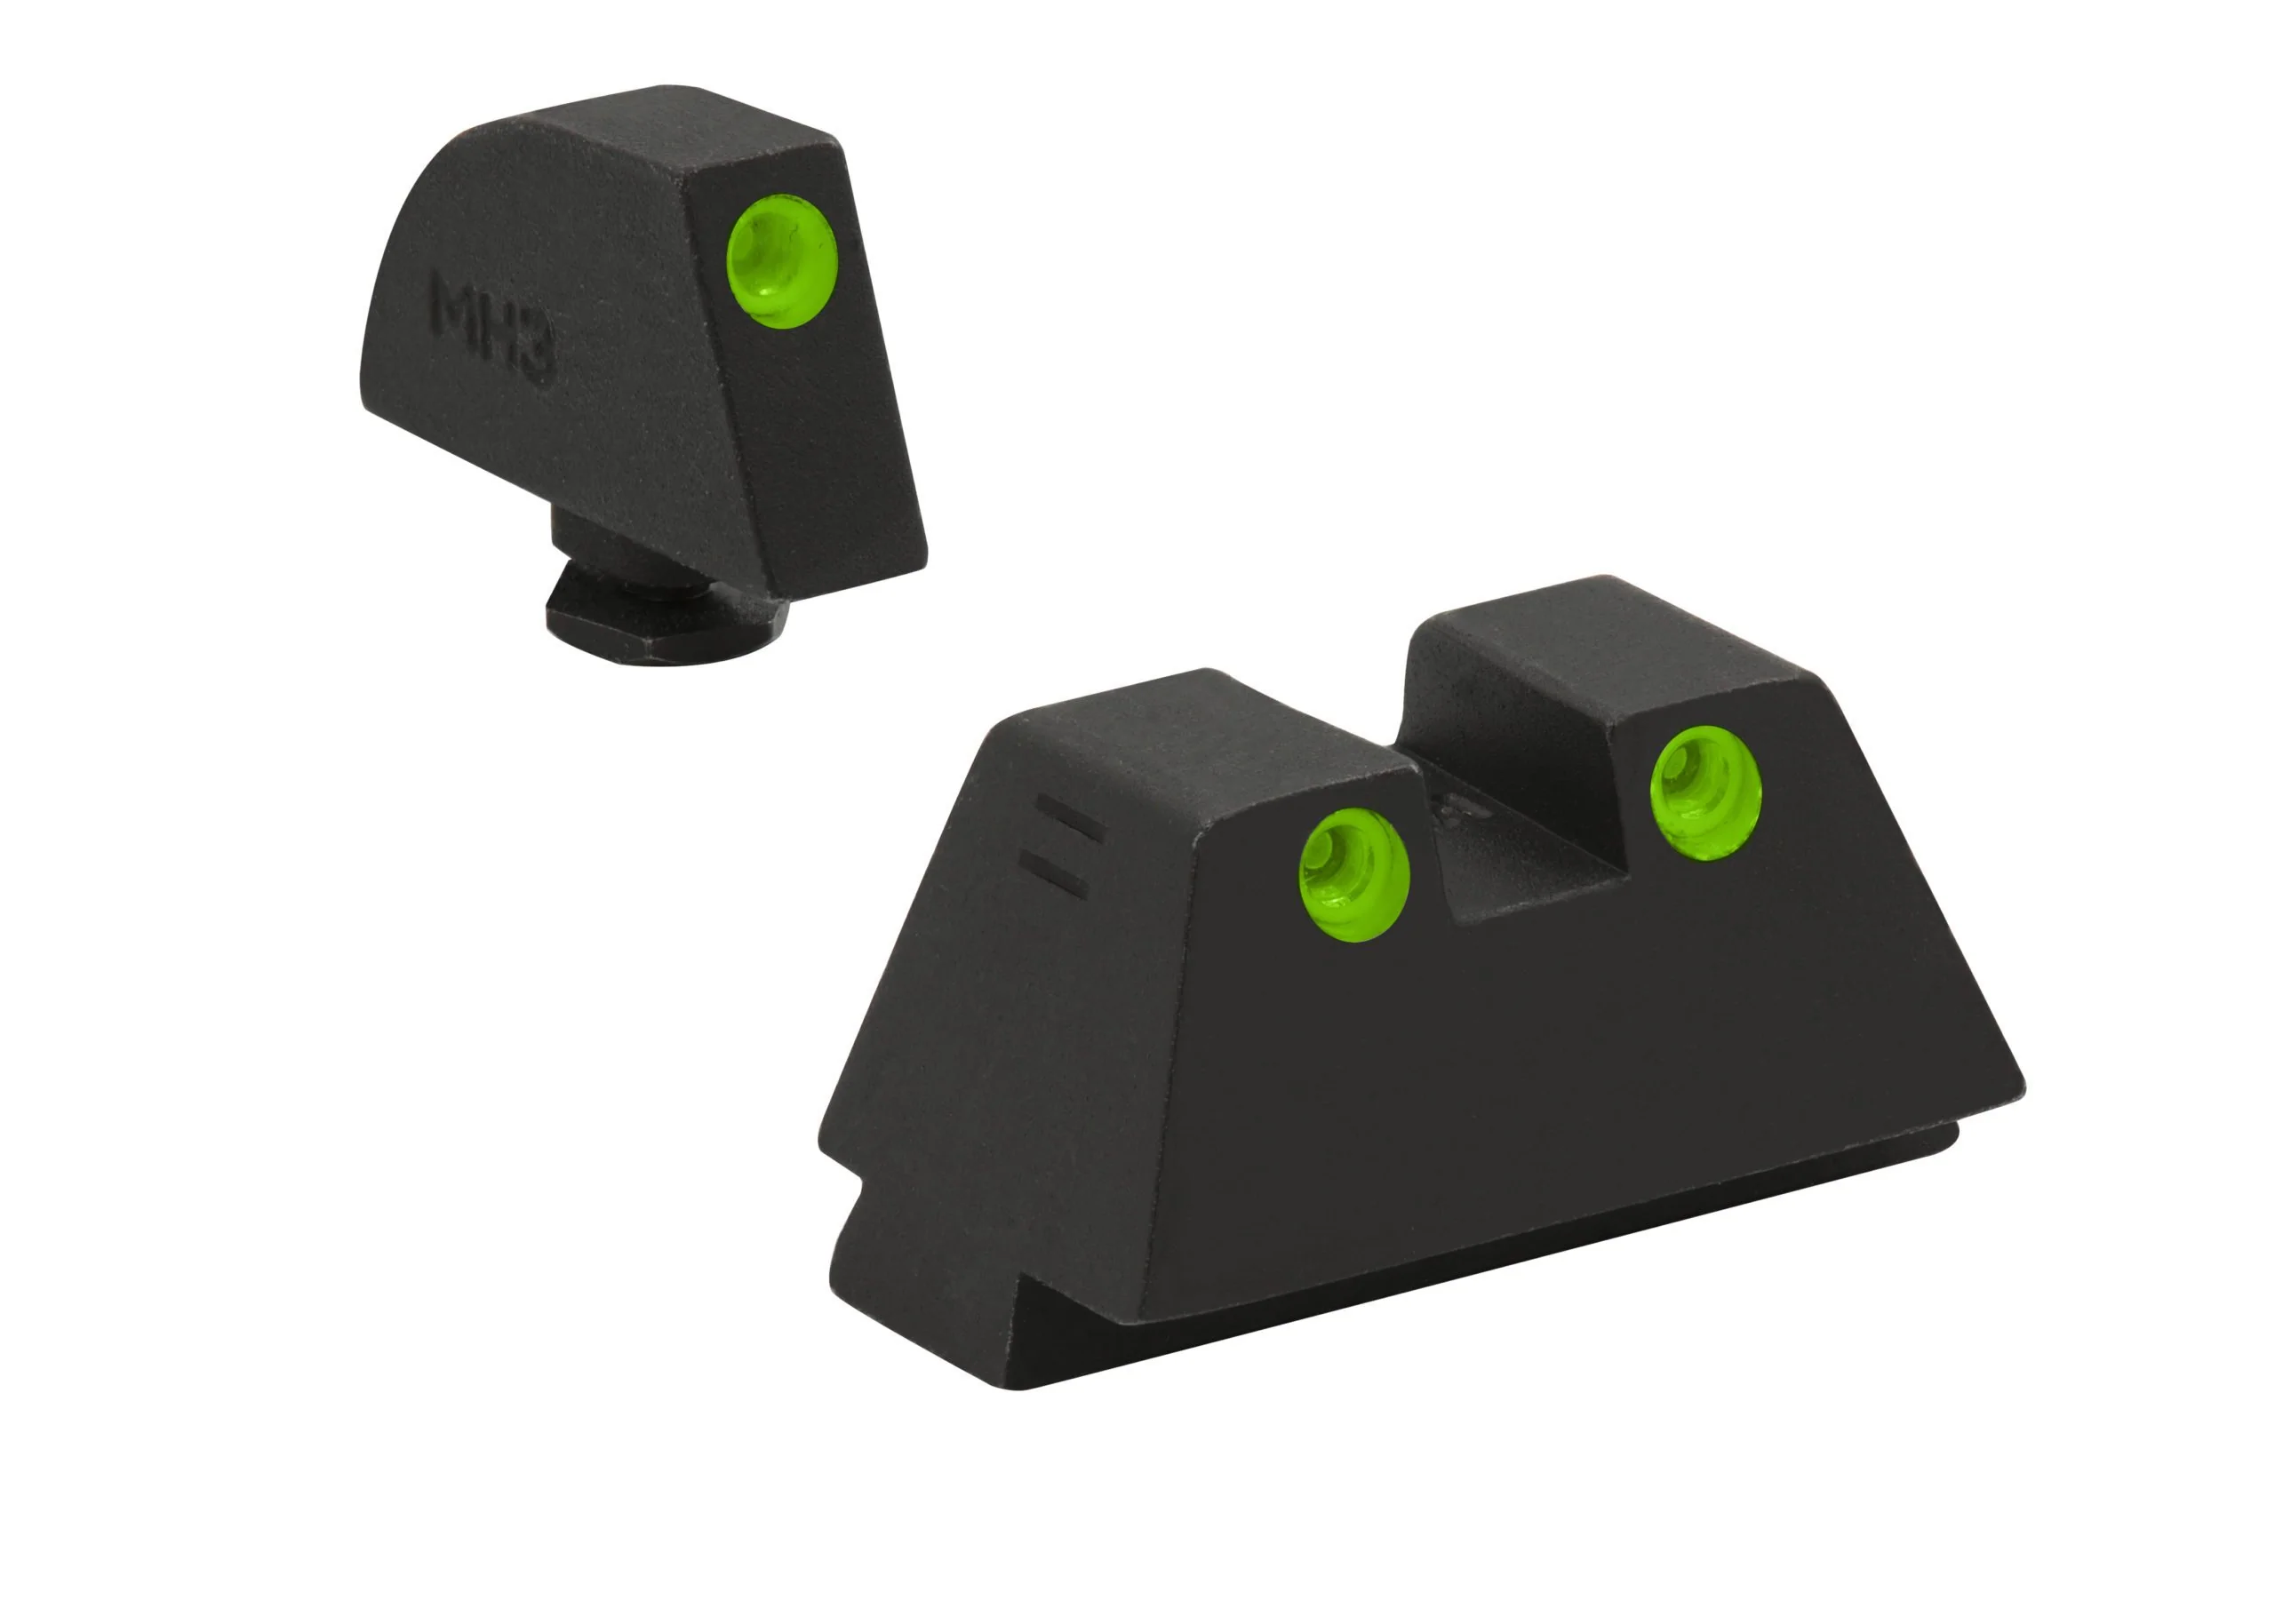
Mounting Your Riflescope Properly
Correctly mounting your riflescope is vital to getting accurate shots. It's similar to wearing a well-fitted pair of shoes—if they're too loose or too tight, you'll have trouble walking.
Use a quality set of rings and bases that fit both your scope and rifle. The renowned shooter Julie Golob advises, "The fit of your equipment can make or break your shooting experience. Make sure your scope fits you and your rifle perfectly."
Mount your scope so that when you shoulder your rifle, you can see a full field of view without having to move your head. Once your scope is mounted, ensure it's secured tightly so it doesn't move with recoil. Remember, a well-mounted riflescope is the first step towards a precise shot.
Adjusting the Eyepiece and Focus
Adjusting your eyepiece and focus is akin to tuning a guitar. You want the sound—or in this case, the reticle—to be clear and sharp. When the eyepiece is properly adjusted, the reticle should appear instantly sharp and clear when you look through the scope.
To focus your reticle, point your scope at a blank, light-colored background. The sky works perfectly, but be careful not to point it towards the sun. Adjust the eyepiece until the reticle appears sharp and clear. This step is crucial because a blurred reticle can throw off your aim.
Once your reticle is in focus, you're ready to start zeroing. Remember, the key here is patience and precision. Don't rush the process. After all, every expert was once a beginner.
Determining the Initial Point of Impact
Determining your initial point of impact (POI) is much like finding your starting point on a map before a journey. It gives you a reference from which to navigate.
To identify your initial POI, take a shot at your target while keeping your rifle as stable as possible. This is simply to establish a consistent starting point for your adjustments. Keep in mind that the aim here isn't to hit the bullseye—it's to identify where your bullet lands without any adjustments.
Next, mark this spot on your target. This is your initial POI. With this point as your reference, you're now ready to start aligning your riflescope with your target.
Making Windage Adjustments
Windage adjustments refer to correcting your aim for the left and right deviation. It's similar to steering your car to stay in your lane. Marksmanship instructor and author David Tubb recommends starting with windage adjustments, saying, "Windage is typically easier to adjust as most shooting ranges are set up with stations aligned perpendicular to the target line."
The knob to adjust windage is usually located on the right side of your scope. Remember, if your initial POI is to
the left of your point of aim, you'll need to adjust your scope to the right, and vice versa.
Remember, every riflescope is different, and so are their adjustments. Some scopes adjust in MOA (Minutes of Angle), while others use MRAD (Milliradian). A general rule of thumb is one click of adjustment usually equals a quarter MOA at 100 yards, which translates to about a quarter-inch movement of the POI. Adjust accordingly and fire another shot to check your adjustment. Repeat this process until your horizontal alignment is perfect.
Making Elevation Adjustments
Just as you adjusted your scope for left and right deviation, you'll need to adjust for up and down deviation—this is known as elevation. Think of it as adjusting the pitch in music, striving for that perfect note.
The elevation adjustment knob is typically located at the top of your scope. If your initial POI is below your point of aim, adjust your scope upwards, and if it's above, adjust downwards.
Renowned sharpshooter Jerry Miculek advises, "Remember that gravity affects your bullet as soon as it leaves the barrel. So, if you're shooting at a distant target, you'll need to adjust your elevation higher to compensate for bullet drop." Just like with windage, make these adjustments, take a shot, and see how your POI shifts. Repeat the process until your vertical alignment is perfect.
Confirming the Zero
Once your adjustments align with your point of aim, it's time to confirm the zero. This is like double-checking your answers in a math test. You wouldn't want to make all that effort and then miss the bullseye because of a tiny mistake.
To confirm your zero, shoot a group of three to five shots at your target. The middle point of this group should be your new POI. As the retired Navy SEAL sniper Chris Kyle said, "Once you think you've zeroed, always double-check. This isn't just shooting, it's precision shooting."
If this new POI aligns with your point of aim, congratulations! You have zeroed your riflescope. If it's off, no worries, just repeat the adjustment process. Remember, patience and precision are the keys here.
Fine-Tuning Your Zero
Now that you've zeroed your riflescope, it's time to fine-tune your zero. This is similar to adjusting the seasoning in a dish to suit your taste. You're trying to perfect your shooting experience to match your personal preferences.
A well-regarded practice in the shooting world is to zero your rifle at 100 yards, but that might not always be practical or desirable based on your specific shooting needs. You might need to fine-tune your zero for different distances or conditions. So, keep practicing, keep adjusting, and you'll find the perfect zero for you.
Shooting expert and author Ryan Cleckner once said, "The zero of your rifle is personal. It's the base for your entire shooting experience. So, take the time to perfect it." After all, it's your journey towards becoming a sharpshooter, so make it count!
Taking Note of the Adjustments
Just as a scientist records their observations, you should note down your adjustments. This way, you'll have a point of reference for future shooting sessions. It can save you time and ammunition by getting you back to your zero quickly, especially if someone else uses your rifle or if your scope gets bumped.
Your notes should include the type and weight of ammunition used, the distance you zeroed at, and the environmental conditions during your session. And of course, note down the adjustments you made to your riflescope.
As expert shooter and instructor Todd Hodnett advised, "The more data you have, the more accurate you can be. A shooter's logbook is as essential as their firearm."
Testing Your Zero at Different Distances
The thrill of shooting doesn't stop at zeroing your riflescope at one distance. It's like reading a book—you don't stop at the first chapter, right? It's important to test your zero at different distances. This allows you to understand how your bullet behaves at various ranges, helping you become a versatile shooter.
Depending on the trajectory of your bullet, your point of impact might be different at different distances. Ballistics expert Bryan Litz suggests, "A true marksman knows his weapon and ammunition. Shooting at different distances and recording your results can help you understand your rifle's ballistics."
So, get out there and put your zero to the test. Remember, practice is the key to perfection.
Maintaining Your Zero
Now that you've zeroed your riflescope, you need to maintain it. Think of it like servicing your car regularly to keep it running smoothly. Regular checks are essential to ensure your zero remains accurate over time.
Whenever you're at the range, take a few shots to check your zero before starting your practice. Also, clean your rifle and riflescope regularly to ensure their best performance.
Keep in mind that extreme temperature changes can impact your riflescope's zero. As competitive shooter Lena Miculek advises, "Don't leave your rifle in a hot car or out in freezing temperatures. Treat your equipment with care, and it will take care of you."
Conclusion
Zeroing your riflescope is a journey filled with patience, precision, and persistence. It's a vital step towards making your shooting experience enjoyable and successful. Remember, a well-zeroed riflescope isn't just about hitting your target—it's about becoming one with your firearm, understanding its behavior, and fine-tuning it to your specific needs.
No one said it better than the legendary marksman Carlos Hathcock, "Zeroing is the first step to shooting precision. It's not a task to be rushed or taken lightly. It's a step towards becoming a true marksman."
So, gather your equipment, head to the range, and embark on your zeroing journey. The satisfaction of hitting your target dead center is waiting for you. After all, nothing beats the joy of a well-earned bullseye, does it?
Keep in mind that zeroing is not a one-time task but a continuous process of adjustments and improvements. So, take the time, make the effort, and before you know it, you'll be hitting those bullseyes consistently. Happy shooting!
Shop Best Sellers, For Scopes, Tactical Sights and Binoculars